Racoons can make their way into homes and businesses through chimney flues, and they often get wedged in. A wildlife rehabilitator will have the tools to remove these animals humanely, and a homeowner’s insurance may cover the cost of repairs.
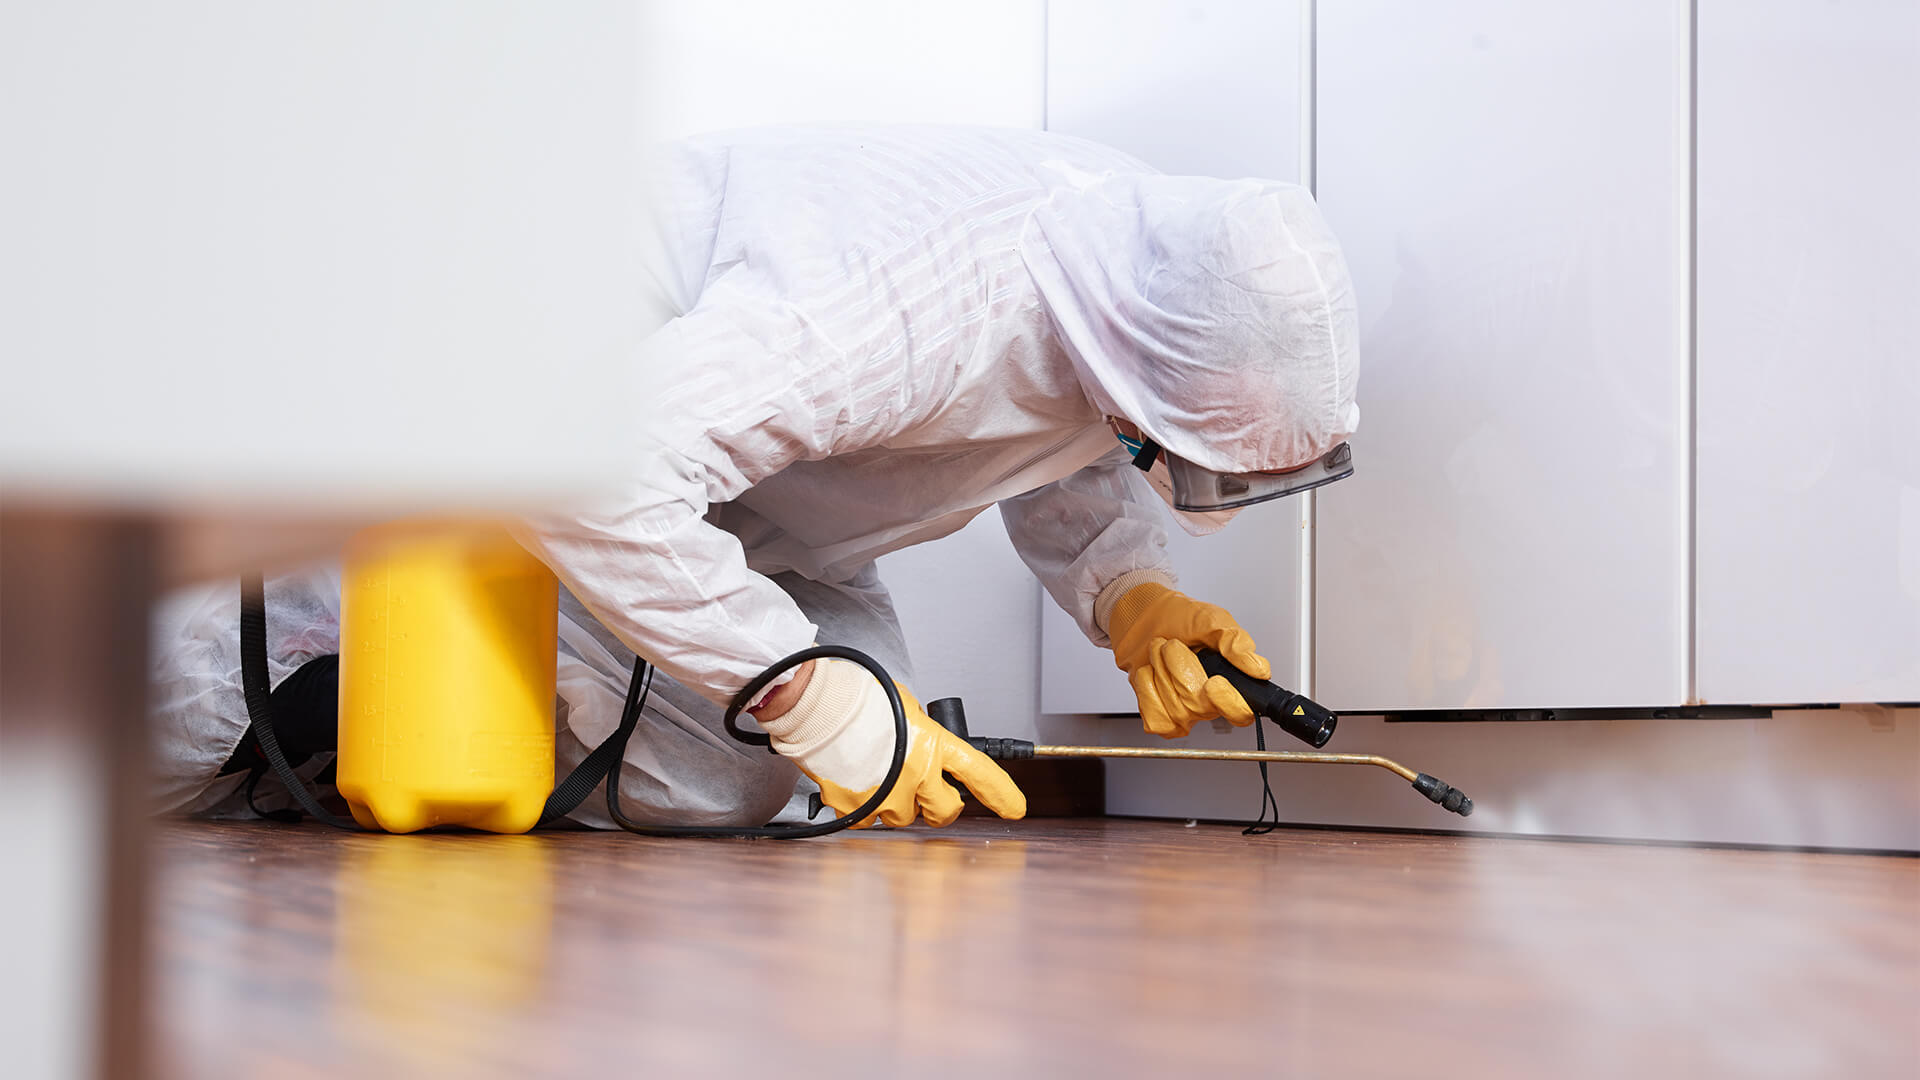
Pest control companies that specialize in raccoon removal services can offer preventative measures as well, including animal-proof vents and deterrent sprays. They can also provide a thorough inspection to find all entry points and plan the best course of action for your property. Contact Raccoon Removal Service Texas now!
The raccoon population is on the rise and as their natural shelters, ground burrows and muskrat houses are becoming increasingly difficult to find they look for new places to make their homes. This often leads them to attics, crawl spaces and chimneys. Unfortunately, raccoons can cause significant damage to a house when they enter. They can defecate and urinate in the attic, destroy insulation and damage the ductwork of the central air system. They can also chew through wires and rip open roof shingles. The best way to get rid of a raccoon infestation in your home is to call a humane raccoon removal service.
Many people try to resolve a raccoon problem on their own, using homemade traps or lethal poisons. This is not recommended. Poisoning a raccoon may kill it but it can also harm pets and children who unknowingly ingest the poison or come into contact with the dead animal. It’s also inhumane to trap and kill a wild animal that could otherwise have been relocated far away from your property.
Instead, a humane approach to raccoon removal should be used, which includes exclusion and other non-lethal strategies. These techniques are usually far more effective than poisons or cage trapping, and they’re much safer for both animals and people.
In addition to exclusion, raccoons can be prevented from entering your home by installing protective barriers. These barriers can be made from mesh wire or steel, and they should be positioned in areas where the raccoons are most likely to enter. These barriers should be at least three feet high and completely surround the entry point.
Another option for preventing raccoons from entering your home is to use a natural repellent. There are many products on the market that are made from natural ingredients and will discourage raccoons from rummaging through your garbage or leaving feces in your yard. However, these repellents should be used carefully as they can be toxic to your pets and children.
Raccoon Trapping
Raccoon trapping should be done with a professional who is licensed and knows the law. Nuisance wildlife trappers should not use poison or cage traps and should avoid using techniques that may cause injury to the animal. A good raccoon removal service can also do effective proofing and exclusion work to prevent future problems.
Proper trapping of raccoons is done by luring them into a live trap using bait like fruit, vegetables, meat, fish or chicken parts and entrails. The best baits are the ones that smell good to raccoons. The trap itself should be constructed of metal or wood that can withstand the weight of the animals inside. It should be securely fastened to prevent movement and can be nailed or locked to a plank. If it is set indoors, a heavy weight should be placed on top of the trap to keep it from tipping over. It should be checked regularly, especially after dark.
As raccoons are nocturnal, they will only come out at night. This is the best time to catch them. Traps should be set in places where damage occurs, such as at the corners of gardens, in breaks in stone walls and along animal trails. A single trap may be enough in small gardens, but for larger areas it is best to set a series of them.
It is not uncommon for a raccoon to become trapped and escape the trap, but it does not mean it will not return. It means the raccoon has probably learned to dodge traps or has been trained by other raccoons to do so. It can still be captured by setting the trap directly at its exit or entrance to a building. This is a very effective method and it works well in many situations.
Most of the time raccoons living in buildings are female and have babies, so if possible it is best to get them out using non-harmful methods like putting the babies into a cage trap, scaring the mother with a broomstick or simply bolting a live trap to the hole in the wall. Obviously, this is only an option if the mother is not harassing the babies or if it is safe to do so. It is always recommended that humane trapping methods are used as they are kinder to the animals.
Raccoon Exclusion
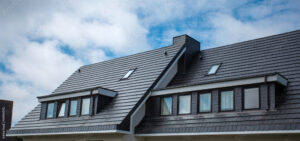
Raccoons often cause significant damage to a home in their attempt to establish a denning site. Females in particular are known to destroy soffits, fascia boards, shingles, vents and insulation to gain entry to the attic.
Aside from causing structural damage, raccoons carry bacteria and disease that pose health risks to people and pets. They spread salmonella, E coli, leptospirosis, canine distemper, toxoplasmosis, roundworm and other pathogens through their feces or by biting. They also carry and transmit rabies, making them the most common carrier of this serious disease.
While some may consider raccoons to be cute, they are wild animals that can be very dangerous. They have sharp claws and teeth, are highly unpredictable and may become rabid when threatened. They are also destructive in their search for food, leaving behind a trail of ransacked garbage cans, discarded bird feeders and garden damage.
Besides destroying homes, raccoons often infest residential and commercial properties by chewing through wires and other structures to get at food sources or shelter. In addition, they can be extremely messy, urinating and defecating all over the property.
A raccoon’s most common hiding spot in urban areas is in chimneys, attics, woodpiles and crevices in rock formations. Frequently, signs of a raccoon infestation include ransacked trash cans, empty bird feeders, tracks and the presence of feces or urine.
If you find a raccoon in your chimney, don’t open the flue to rescue it, as this will give the pest access to the entire house. Instead, call a licensed professional who can safely and humanely remove the animal and seal all entry points.
Raccoons often enter houses through open chimneys, as they see them as the perfect place for a nursery. Smoke inhalation is a common death sentence for both mother and litter, so don’t try to rescue them yourself. Instead, call a chimney sweep to clean the chimney and install a chimney cap to prevent future problems. You should also contact a wildlife removal specialist to trap the babies and release them within their natural habitat using an eviction, exclusion and reunion strategy.
Raccoon Cleanup
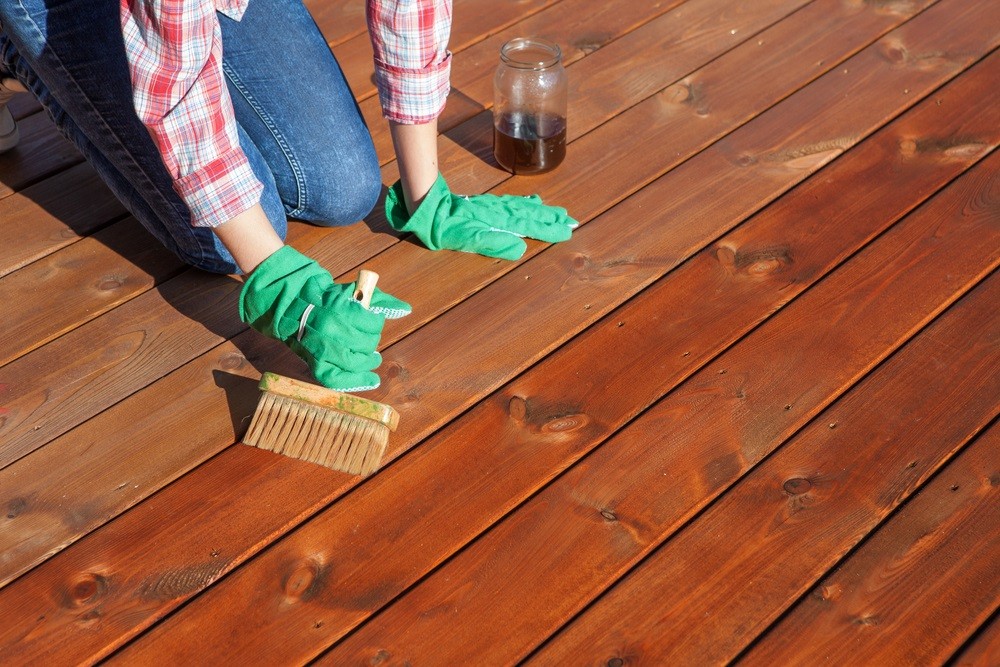
A raccoon can leave behind a lot of debris and feces, especially after they give birth or die. The droppings can cause diseases and parasites in humans, pets, livestock, poultry, and other animals. It also contaminates soil and water. The best thing to do is hire a raccoon removal service to deal with the problem. This service will clean and sanitize the area, as well as repair any damage caused by the raccoons.
The cost of a raccoon control service varies depending on the type and severity of the infestation. It also depends on whether a homeowner chooses to have the services performed once or on a recurring basis. If a homeowner only wants a one-time treatment, they can expect to pay around $200 to $500 for the initial inspection, diagnosis, and treatments. If they want a recurring treatment, it will typically cost around $150 to $250 more.
Infestations that involve nests or feces will require more work than infestations without those items. For instance, the company will need to dig out a den or remove and clean a raccoon latrine. It will also need to sanitize any areas that have come into contact with the feces. When dealing with raccoon feces, it is important to wear a mask in order to avoid breathing the germs. It is also a good idea to supervise children and pets while cleaning up the mess.
If a raccoon has made its way into a home, the service provider will need to inspect the property and determine the point of entry. This will help them plan the most effective solution. Depending on the size of the infestation, the company may recommend installing animal-proof vents or exclusion barriers. These will stop future raccoons from entering the property and can be installed for between $10 to $25 per linear foot of space or $20 to $60 per opening.
If a raccoon has done extensive damage to the roof or attic, the repairs can be quite expensive. The repair costs will depend on the amount of damage and local contractor rates. Luckily, this type of damage is often covered by homeowner’s insurance.


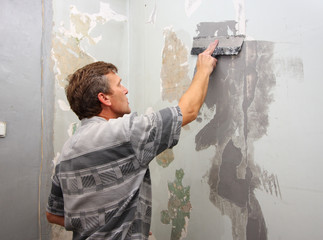
 A full restoration should be done, including removing the old stucco, installing new building paper and metal lath, patching all areas of damage, and applying three coats of stucco repair mix.